Innline – commercial phoyoshoot
Hi,
Almost 2 years ago I’ve deliberately decided to withdraw from social media. Six months later it was clear to me that my fb and ig posts have no influence on my work whatsoever – I’ve had even more jobs than before – this is the nature of working for companies. Recently however, given the quarantine circumstances and having the majority of my jobs postponed, I have a lot of free time so I prepared a lighting tutorial for my blog. If it receives a warm welcoming, I’ll try to post another one in the next couple of days. Meanwhile, let’s take a look at the lighting setup from a commercial Innline photoshoot I did last year.
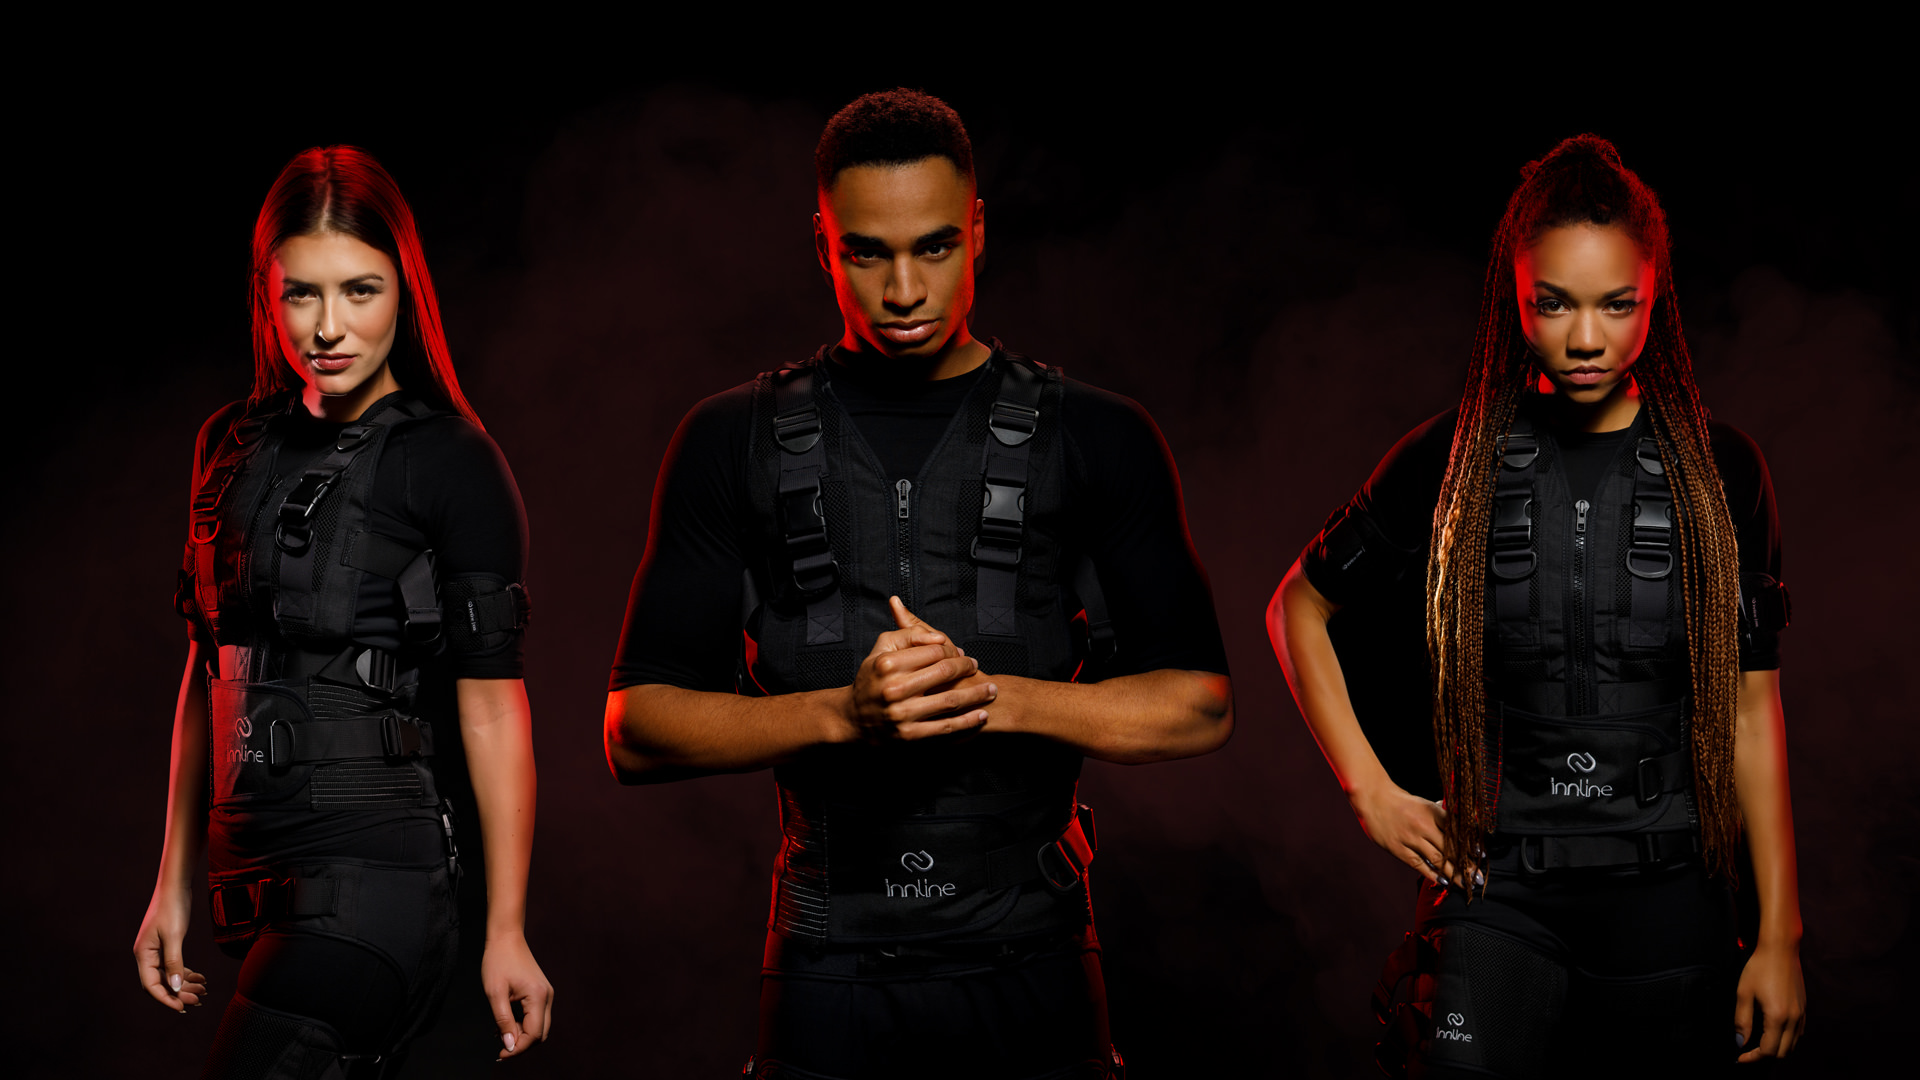
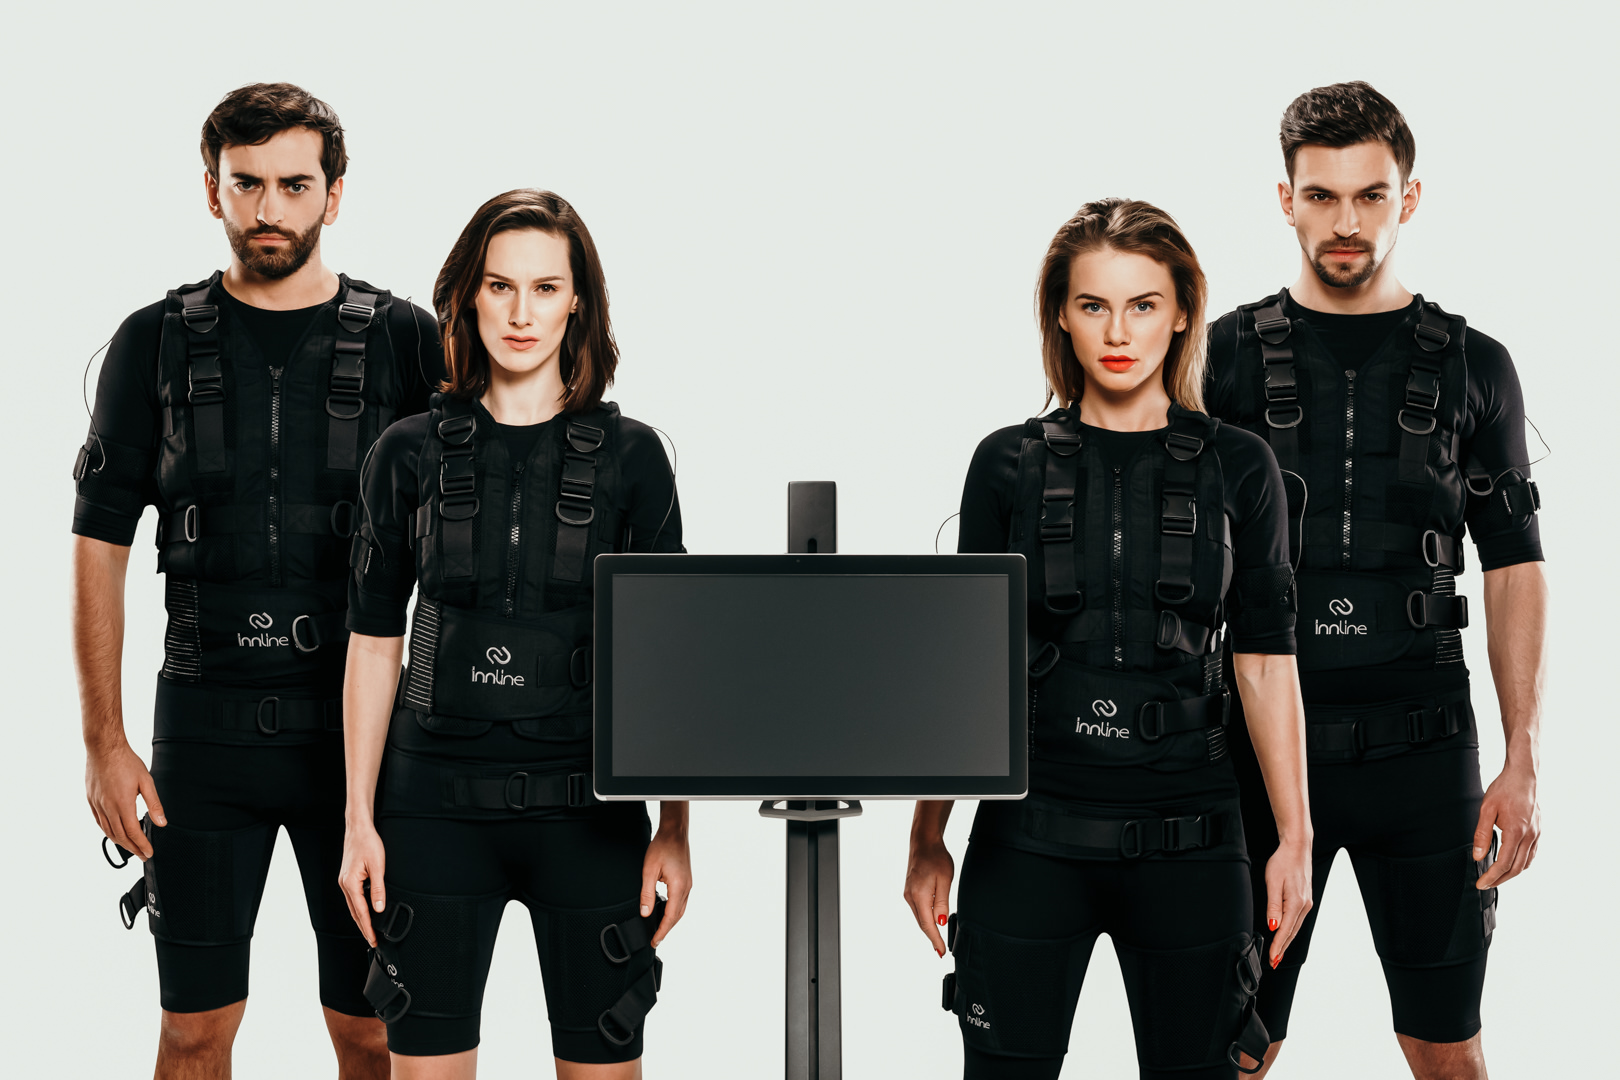
First, some of the photos from the session:
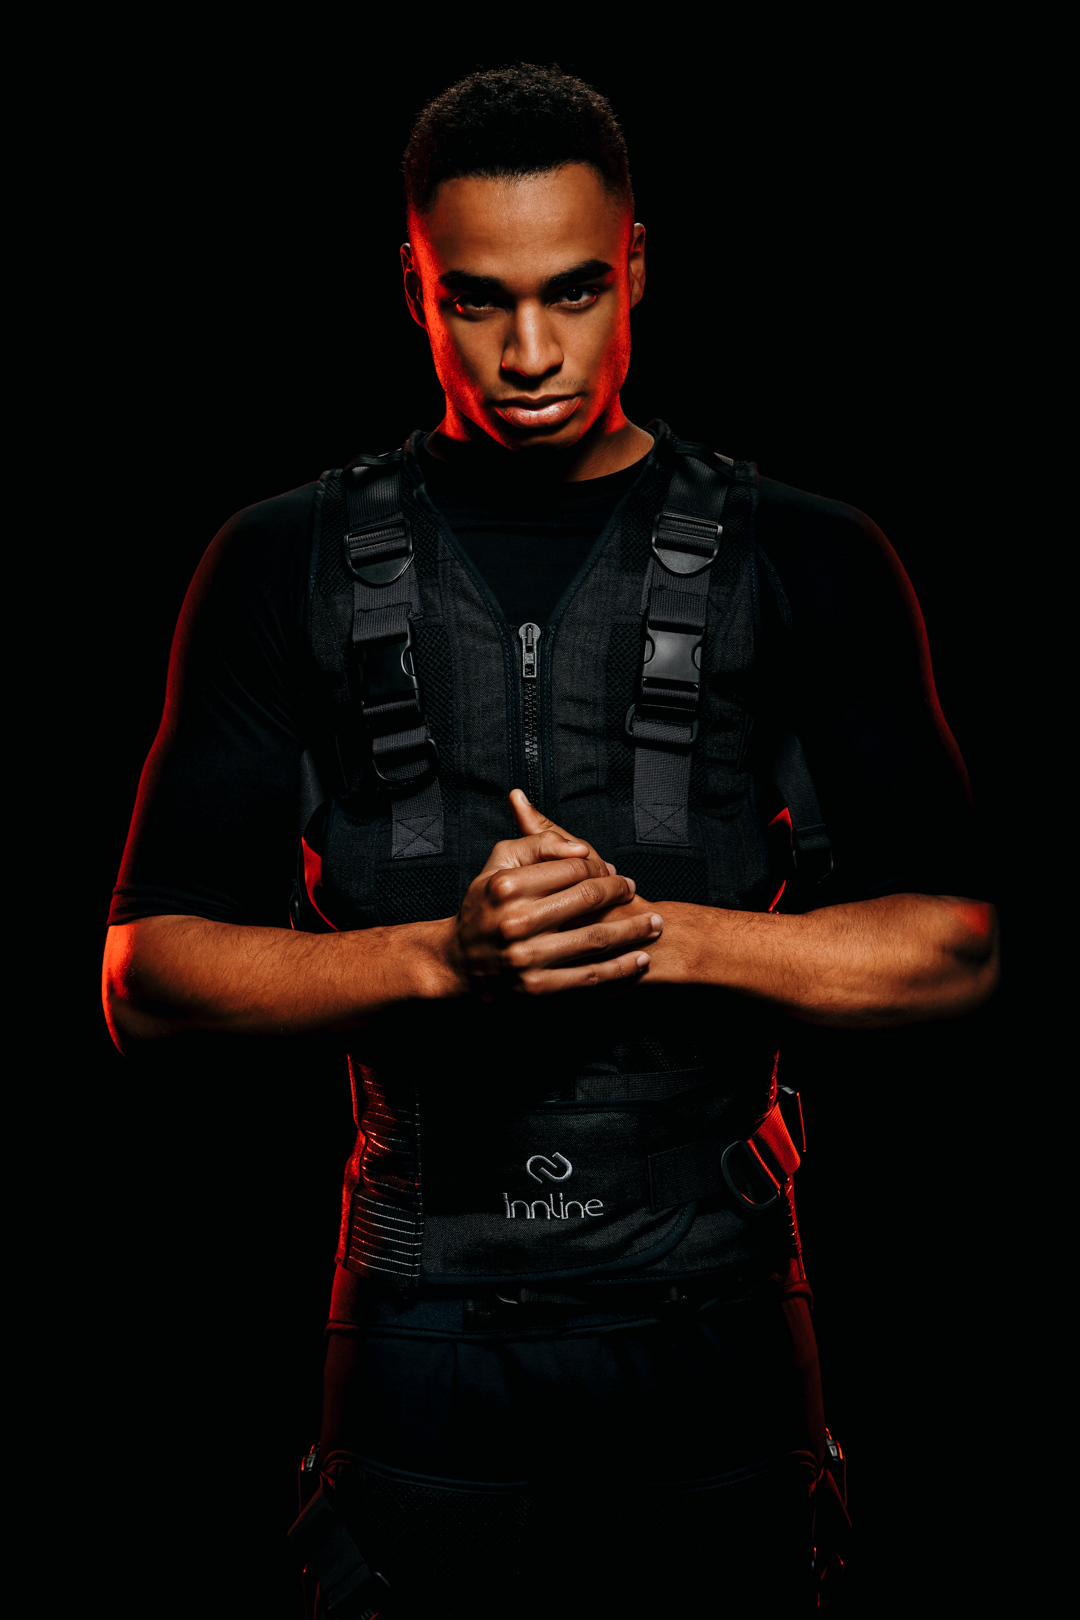


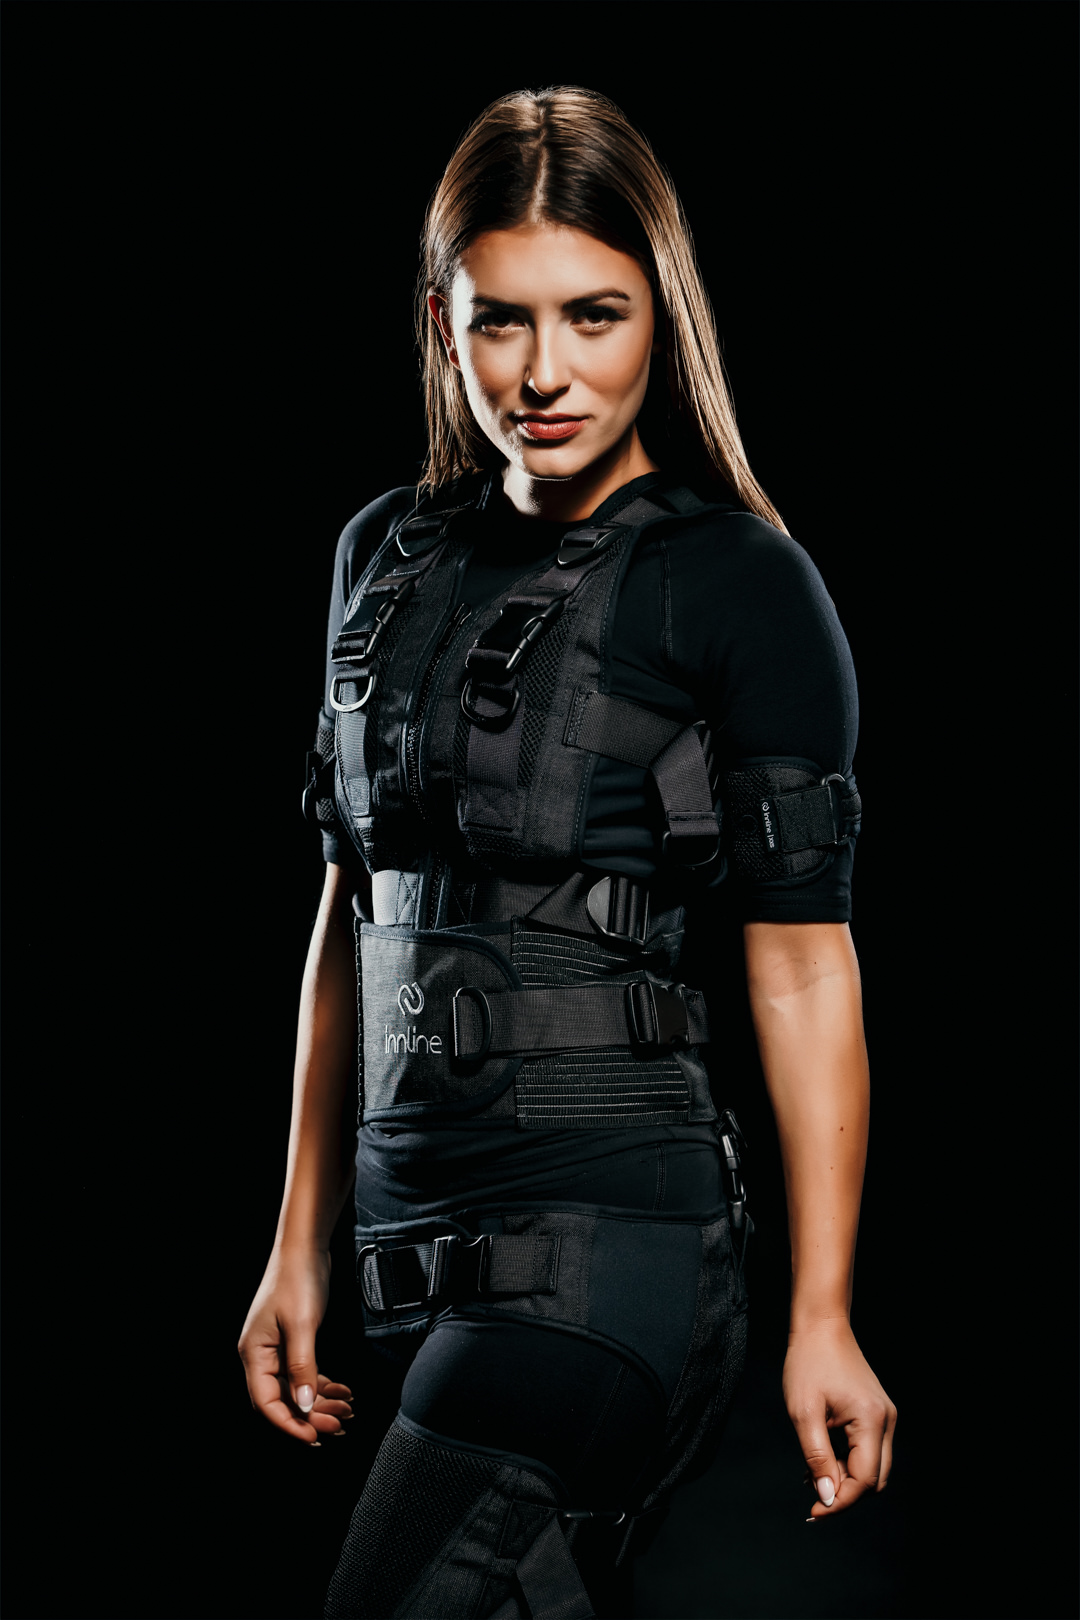
Lighting setup + diagram, I was photographing on a black background:
- the main light – it brightens the silhouette from the front, I used a white, 180 cm diameter parabolic umbrella on a boom stand,
- edge lights – a couple of light in the back, generating a characteristic red/white edges on the silhouette – 2 lamps with or without red gels,
- head light – a light pointing on the hair, that separates the top edge of the head from the background – a lamp with a silver parabolic umbrella and with or without a red gel.

Second setup, instead of the black background I was photographing on a white cyclorama:
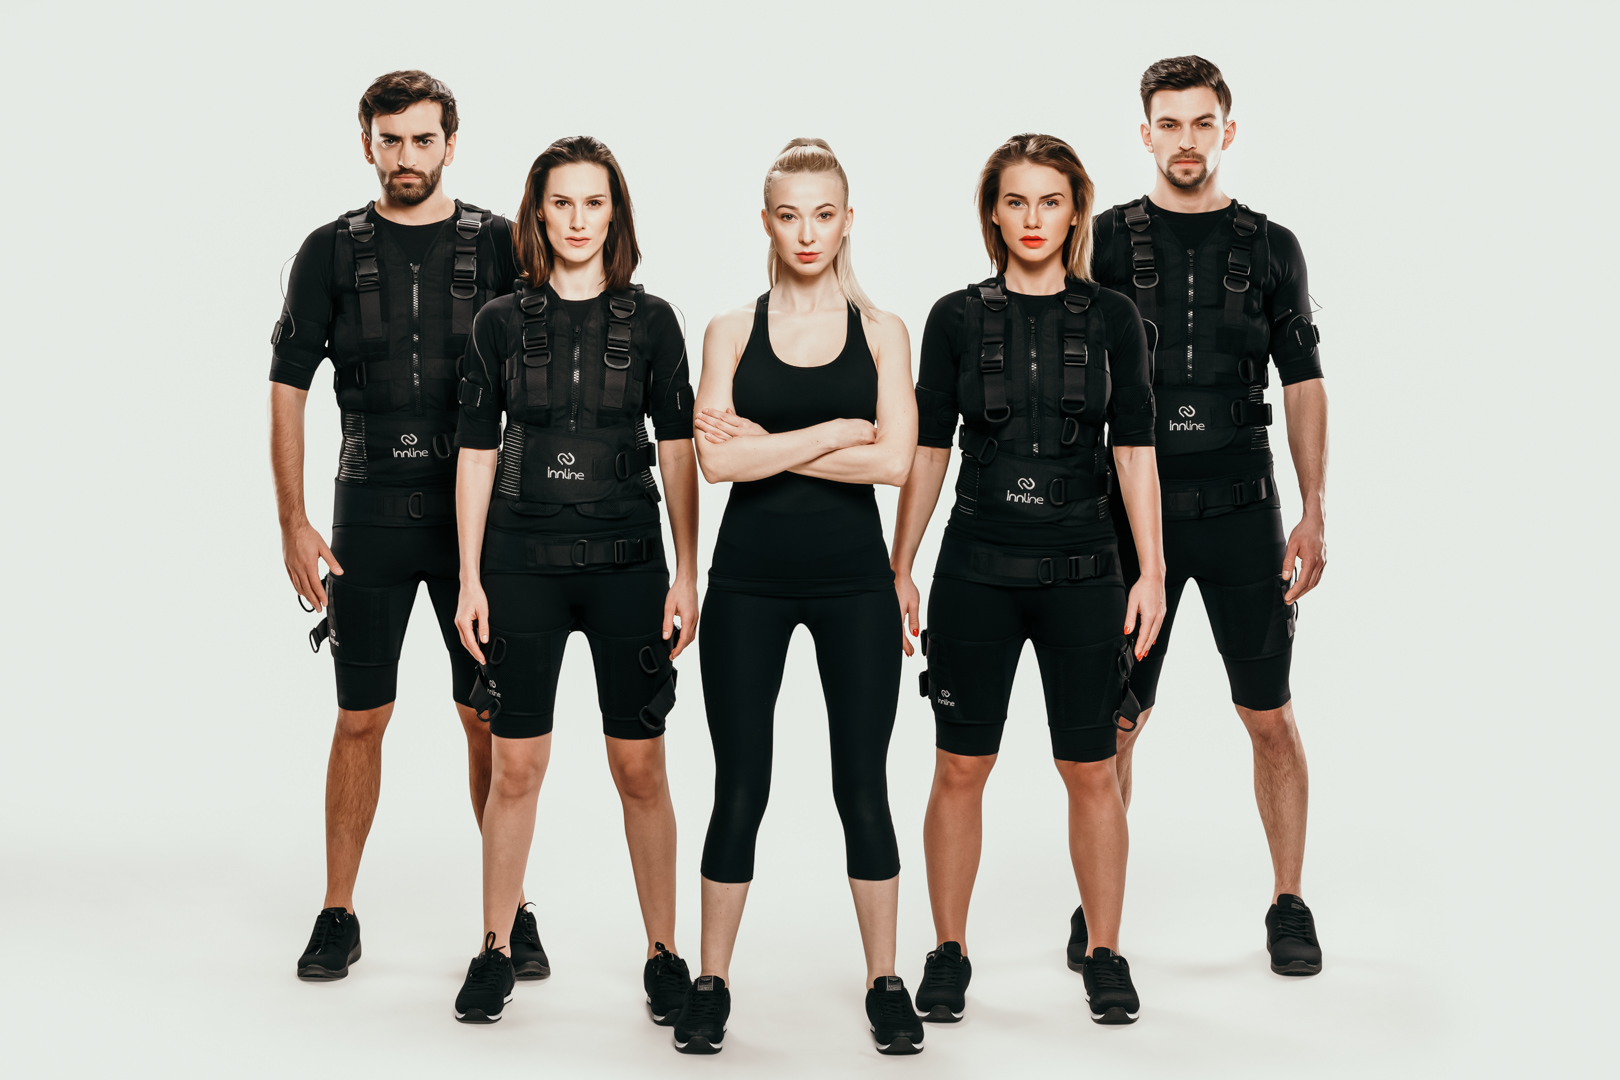

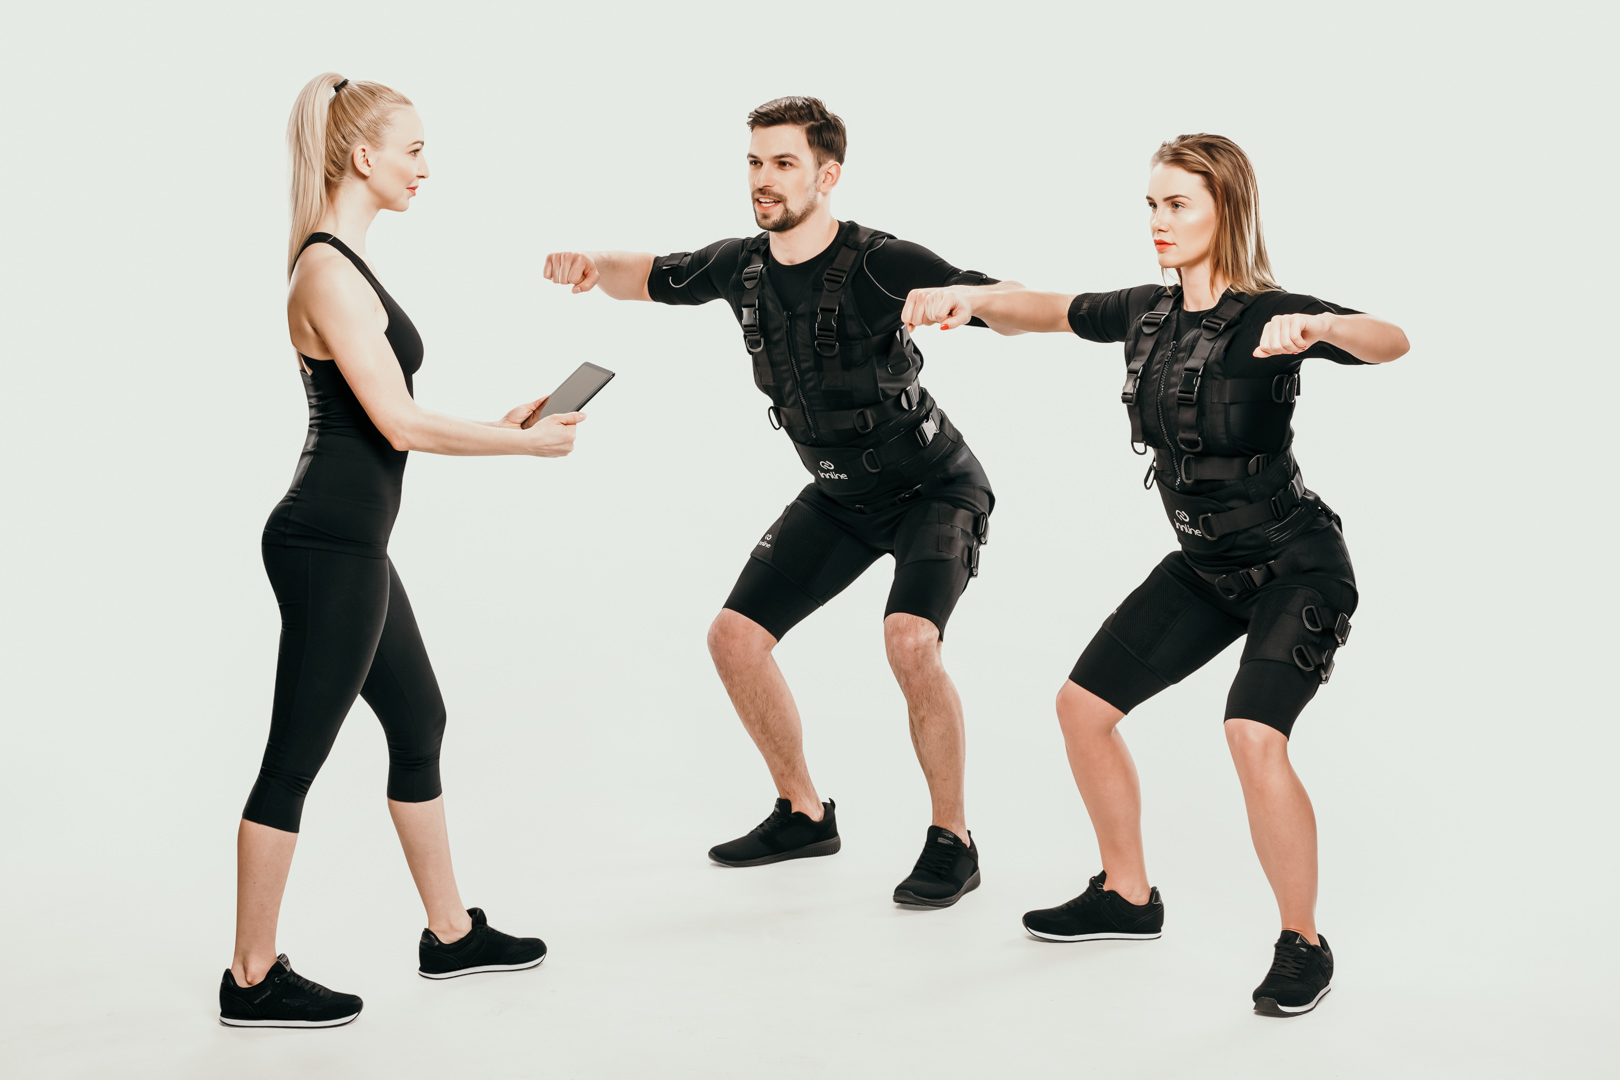
Lighting setup, without a diagram, because the lighting setup was the same as before, with these differences:
- the main light- it brightens the silhouettes from the front, I used a white, 180 cm diameter parabolic umbrella on a boom stand,
- edge lights – a pair of lamps in the back, mounted with stripboxes, generating the characteristic light edges on the silhouettes of the models,
- head light – a light pointing on the hair, that separates the top edge of the head from the background – a lamp with a silver parabolic umbrella on a boom stand.
In both cases I was using Canon EOS R + EF adapter + Canon EF 70-200 f2.8 L II lens – currently I fully transfered to the new Cannon RF lens mount and I am very pleased with it, I may write a separate post on it in the future. During the whole photoshoot ISO was set to 100 – to reduce noise. Shutter speed was 1/200s – which in my body is the flash sync speed. The aperture was set between 9 and 13 to make sure that everything in the frame was in focus. For the single person shots I set the focal length to 200 mm for the maximal compression of perspective, and for the group shots I set it between 70-135 mm to increase the depth of field.
If you have any questions, the comments section is yours (no need to enter your email), have a nice shoot!
Leave a Comment